

Native Ad Format
- Unlike other ad formats where the ad monetization SDK implements the ad view, native ads provide ad components for you to build the ad view directly.
- The key advantage is minimizing disruption by implementing layouts based on your UI/UX. However, you must include ad markers to prevent users from confusing ads with content.
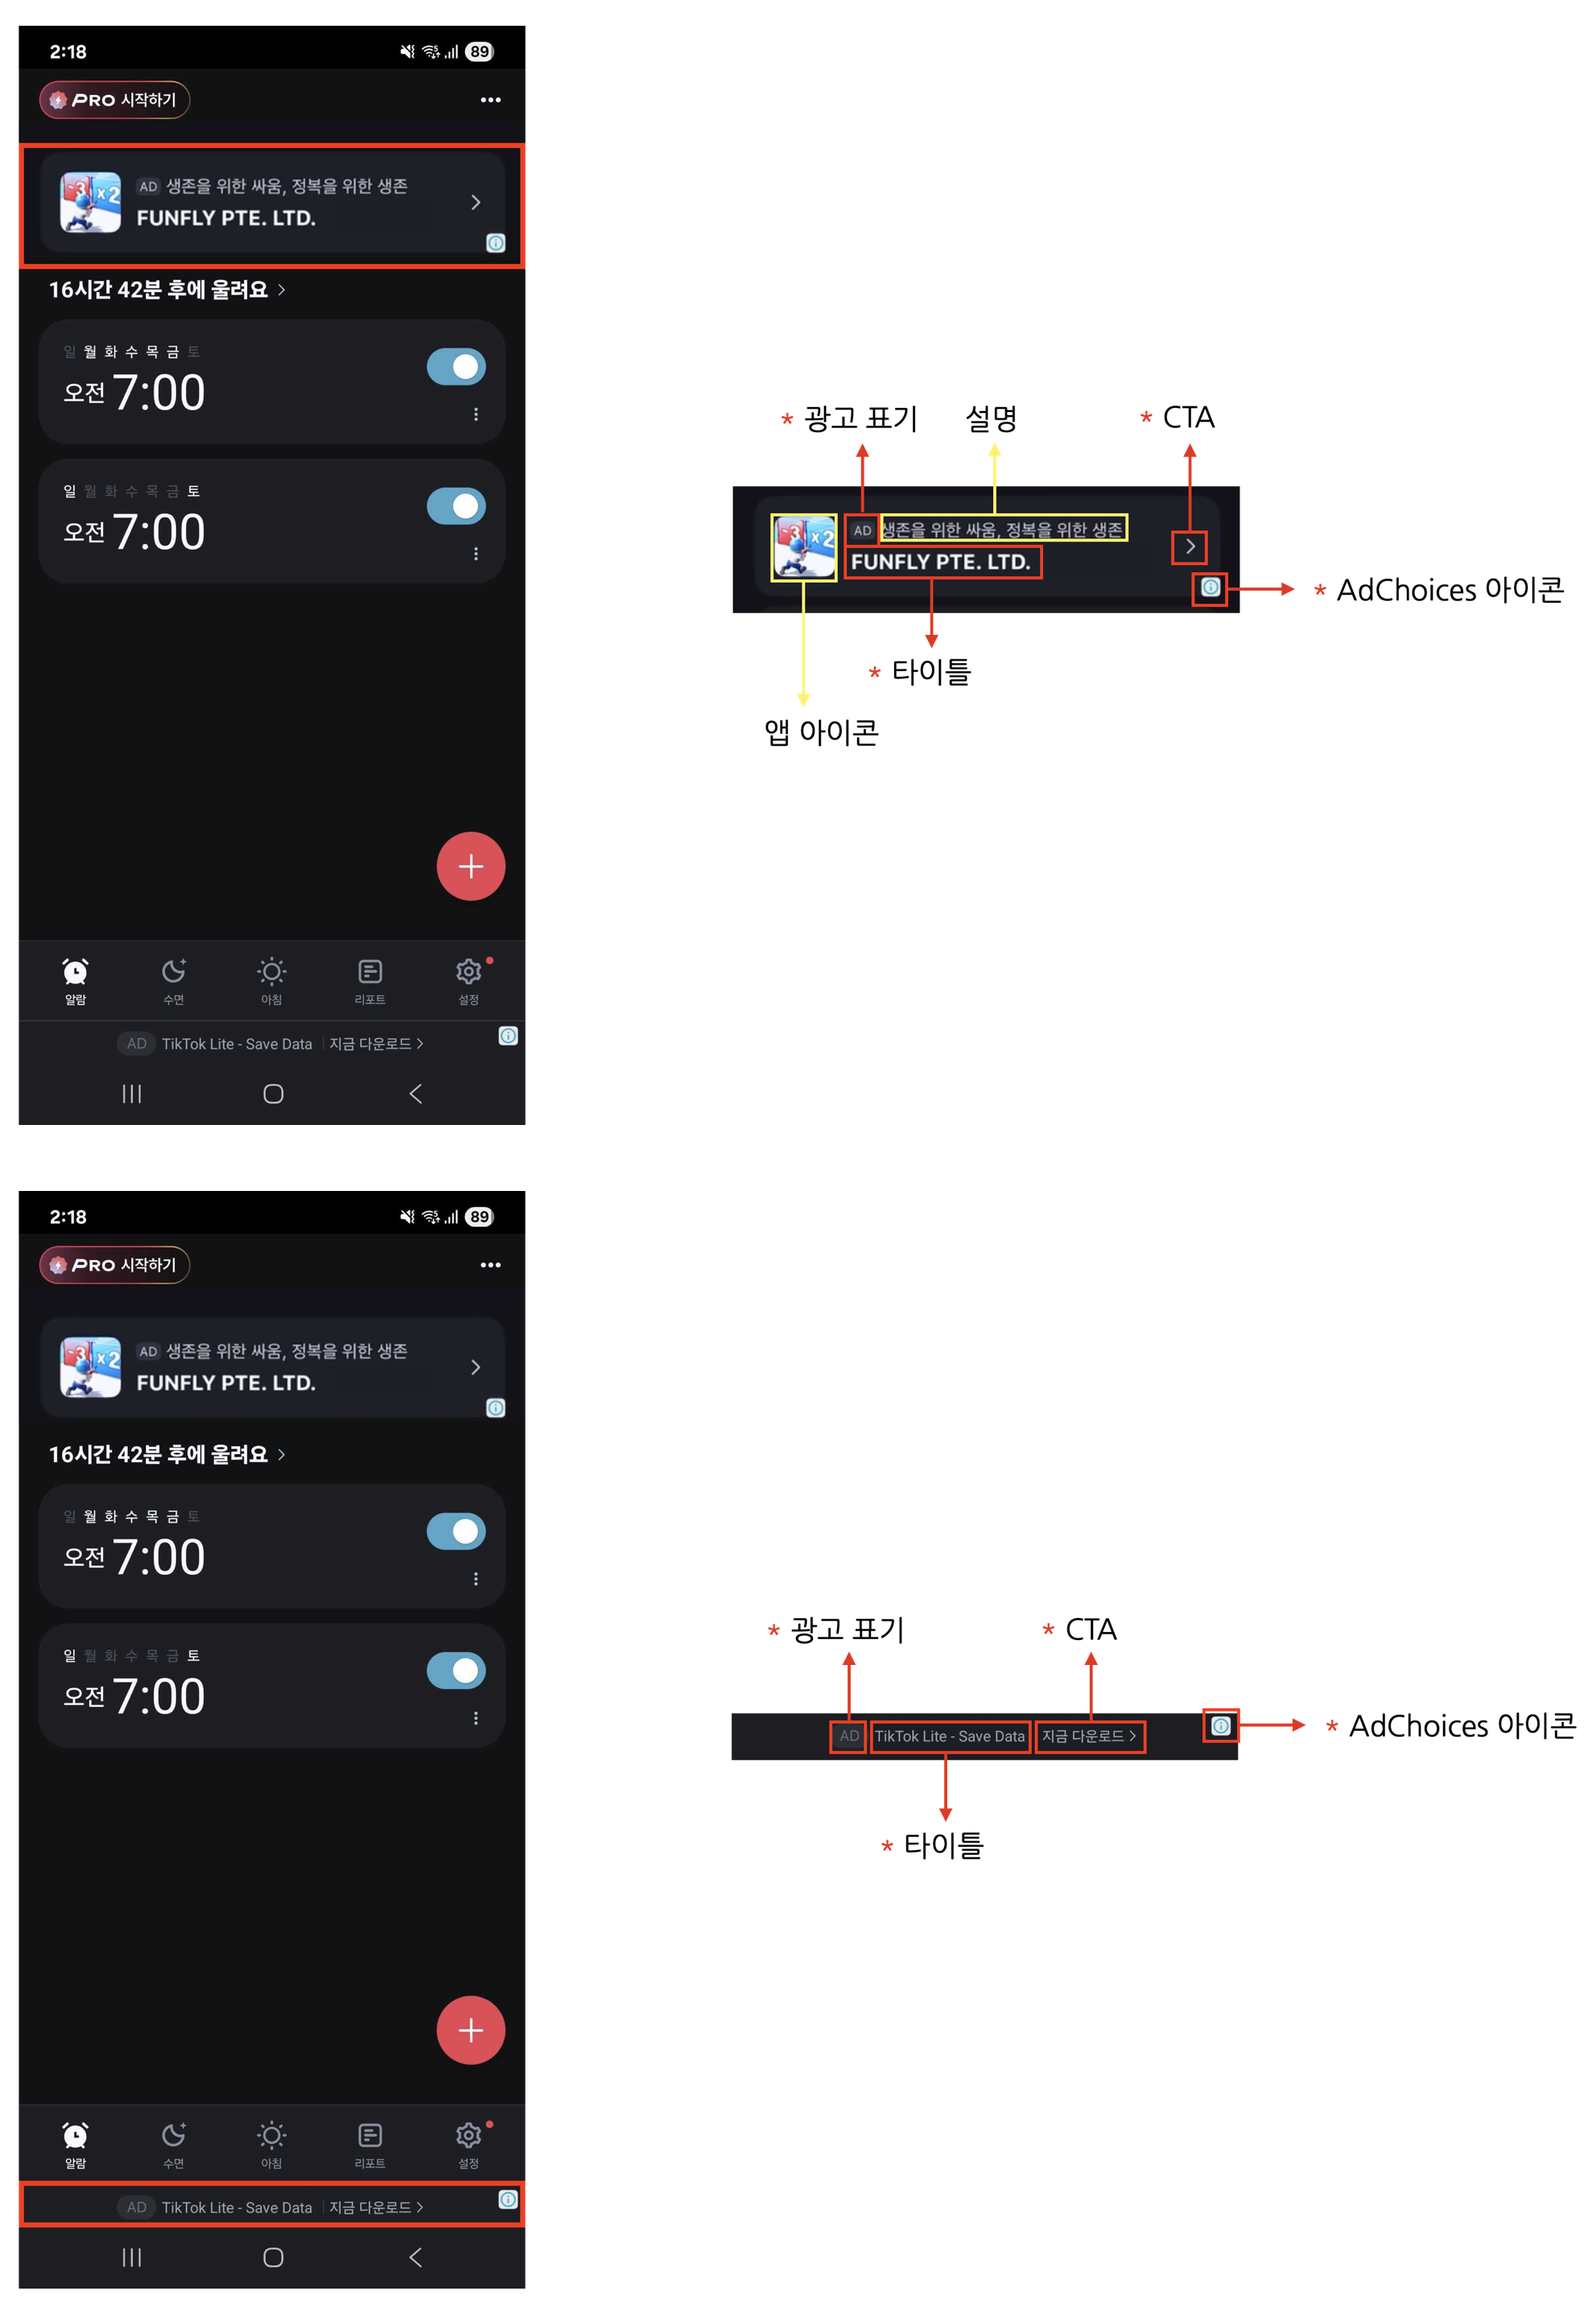
4 Required Native Ad ElementsNative ads can be freely designed to match your app’s UI, but the following 4 elements are mandatory:
- Ad Label: Add “AD” or similar text so users clearly recognize it as an advertisement.
- AdChoices Icon: The AdChoices overlay icon enables users to identify and control ads, typically displayed as an ’ⓘ’ icon. This icon is automatically added by the DARO SDK, so no separate implementation is required. It is placed in one of the four corners of the ad view (top-left, top-right, bottom-right, bottom-left), with bottom-right as the default. You can pick the corner via the
preferredAdChoicesPositionoption (see the AdChoices Position section below). Please lay out your ad view so the selected corner is not overlapped or obscured by other UI elements. The icon’s appearance and behavior may vary depending on the ad source (demand). - Ad Title: Display the ad’s headline.
- CTA (Call to Action): Include a CTA button such as “Install”, “Open”, “Download”. The size and format are flexible.
Registering Native Factory
To use native ads in Flutter, you must register a native ad factory on the native platform (iOS/Android). ThefactoryId is the identifier of the factory registered on the native platform.
- Android
- iOS
1
Create Ad Layout XML
Create a native ad layout file in
android/app/src/main/res/layout/.sample_native_ad.xml
2
Implement DaroNativeAdFactory
Create a class that implements the
DaroNativeAdFactory interface.SampleNativeAdFactory.kt
3
Register Factory in MainActivity
Register the factory in
configureFlutterEngine of your MainActivity.MainActivity.kt
Implementing Native Ads
Native ads follow a Create Ad object → Load → Display widget → Dispose pattern.1. Create Ad Object
Create aDaroNativeAd object and configure callbacks.
2. Load the Ad
3. Display the Widget
After theonAdLoaded callback fires, place the DaroNativeAdWidget in the widget tree.
4. Dispose Resources
Calldispose() to clean up resources when leaving the page or when the ad is no longer needed.
Callback Reference
AdChoices Position
ThepreferredAdChoicesPosition option on DaroNativeAd lets you choose which corner the AdChoices icon renders in. When not specified, the bottom-right corner (bottomRight) is used. Supported on both iOS and Android (daro_flutter 1.0.3+).
topLeft, topRight, bottomLeft, bottomRight.
LINE Native Ads
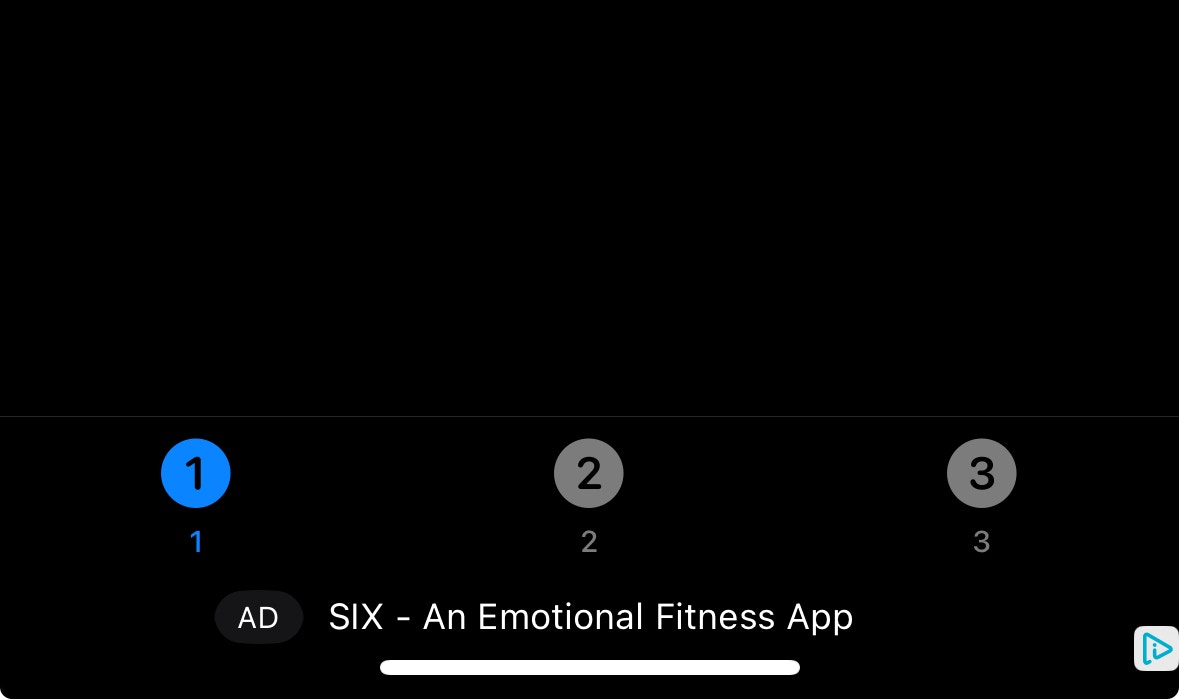
- LINE native ads are compact native ad formats designed to be naturally inserted into feeds or lists.
- They are more compact than standard native ads, ideal for embedding between list items.
- The ad height is fixed at 36dp (Android) / 36pt (iOS).
- Styles can be customized to match your app’s UI.
Implementing LINE Native Ads
LINE native ads follow the same Create Ad object → Load → Display widget → Dispose pattern.1. Create Ad Object
2. Load the Ad
3. Display the Widget
4. Dispose Resources
Callback Reference
Style Customization
UseDaroLineNativeAdStyle to customize LINE native ad colors. Pass the style when creating the DaroLineNativeAd object.